So far we have talked about using polygons and lights to generate the look of all the objects in the scene. When fine detail is needed this may not be the most efficient way.
Consider, for example, the problems of creating a brick wall, or a bookshelf full of books. The hard way would be to model each and every brick or book as a separate object, yielding a LOT of polygons, generally not worth the effort. The alternative approach would be to just have a single polygon, and apply a texture map onto it of a brick wall or a row of books.
Texture mapping is the process of taking a 2D image and mapping onto a polygon in the scene. This texture acts like a painting, adding 2D detail to the 2D polygon.
Instead of filling a polygon with a colour in the scan conversion process we fill the pixels of the polygon with the pixels of the texture (texels.)
Used to:
texture space -> object space -> image space
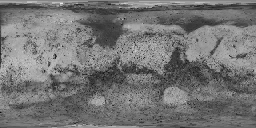
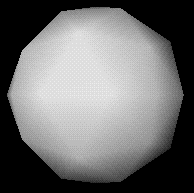
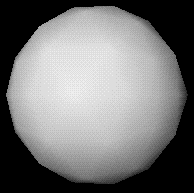
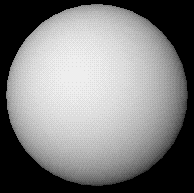
The following images show an increasingly complex sphere texture mapped with the following image of mars.

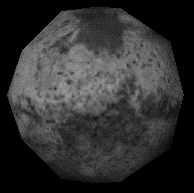
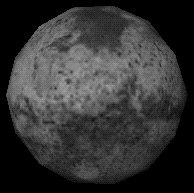
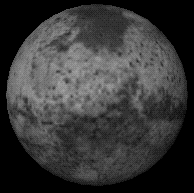
Texture maps are flat 2D images. They are often used however to simulate 3D surfaces. Unfortunately the lighting across the polygon tends to make these textures look flat.
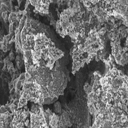
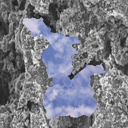
"Transparent" texture maps are those in which a particular color ( generally pure black ) or else a threshold level on the alpha channel indicates that a particular pixel on the texture map is to be made "transparent". These texture maps are often used to make plants or other objects having irregular edges. One common way to do this with plants is to have two to four intersecting polygons with the same ( or similar ) texture maps, so that the user can never see the edge of a polygon:
 + geometry ==>
Sometimes texture maps are "billboarded", which means to turn them so that they always face the viewer at a perpendicular angle. With this technique it is possible to generate very complex scenes with only a few actual polygons:
 +
+  +
+  +
+  +
+  ==>
==>
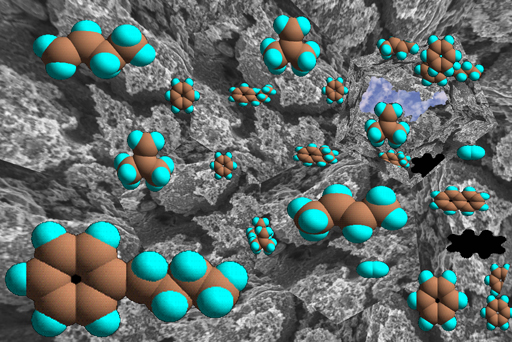
Yet another technique commonly used with texture maps is to "drape" them, or have a single texture map stretch over multiple polygons. Because this technique is often used with terrains, it is also commonly known as "terrain mapping":
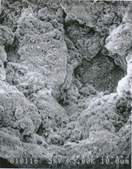 + terrain geometry ==>
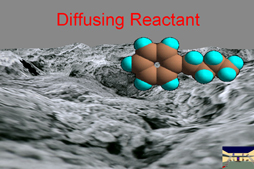
In order to implement draped textures, it is necessary to specify what points on the texture maps are "placed" on what vertices of the geometry. Imagine that the texture map is printed on an infinitely stretchable piece of rubber sheeting, and given a coordinate system of (U,V) coordinates, where U and V range from 0.0 to 1.0. Now, for each vertex on the 3-D geometry, indicate what point on the rubber sheet is to be "glued" onto that point of the wire frame by specifying the (U,V) coordinates of the texture map as part of the vertex specification. Depending upon the implementation, the U,V mapping may be given as part of the geometry specification, or a separate function may be defined for calculating the necessary U,V coordinates from the X,Y,Z vertex coordinates and/or other available information. You may also hear draped textures refered to as UV texture mapping, or something similar.
When a polygon is viewed at a skewed angle, the portion of the polygon farthest from the viewer becomes much smaller than the closest edge, which can cause difficulties when trying to scale a texture map to fit the polygon. In effect, different scaling factors are required for every z-depth level the polygon traverses, and in the extreme case of a vanishing point, a large texture map may be squeezed onto a polygon that only covers a few pixels of actual screen real estate.
Mip mapping ( multum in parvo, Foley 17.4.3, first paragraph only ) is a technique for storing multiple resolutions of a given texture map in only 4/3 the space reqired to store the original texture map. For example, if the original texture was a 512 x 512 at 24 bits of color, the resulting mipmap would be 1024 x 1024 by 8bits. Efficient mipmapping requires that the original texture map be rectangular, and ideally a square power of 2. ( e.g. 512 x 512, 128 x 128, 64 x 64, etc. ) The mip-map then contains reduced size images in fractional powers of 2 ( e.g. 1/2, 1/4, 1/8, etc. ), down to a 1x1 texture map, e.g. a single pixel.
In practice the necessary scaling factor for a particular pixel is determined, and then the two resolutions on either side of the needed scaling are used to bracket the target pixel, and an interpolation between the four bracketing pixels on each of the two resolution images ( eight pixels all together ) is performed.
Bump mapping is an attempt to get around this problem by using the texture to make the object appear to have more 3D detail than it actually has. A common example of htis would be the small dimples covering a strawberry. Modelling the dimples would be expensive, but just drawing them on the texture doesn't give the correct effect because the texture is flat. With bump mapping the texture affects the surface normals underneath it which in turn modify the lighting at that point. ( Note carefully that bump mapping does not actually affect the surface in any way, only the normals used for lighting calculations. A bump map can the thought of as a map of the roughness of the surface, but one in which only the derivatives of the surface perturbations are used. Viewing a bump-mapped surface from an edge-on view will show that the surface is still flat. )
Displacement mapping is similar to bump mapping in that an image is used to describe the roughness of the surface, but now it is used to actually perturb the surface.